
How to Automate TikTok Account Management with AI Agent(Batch Setup & Auto Posting)
TikTok has become one of the most important growth channels for creators, affiliate marketers, and performance-driven …


Table of Contents
Before we can move on to configuring DuoPlus, we first need to obtain some proxies. Webshare offers a fantastic free plan of 10 datacenter proxies & 1GB/month of bandwidth for all new accounts. This basic plan lets users get a taste of the services before committing to paid plans.
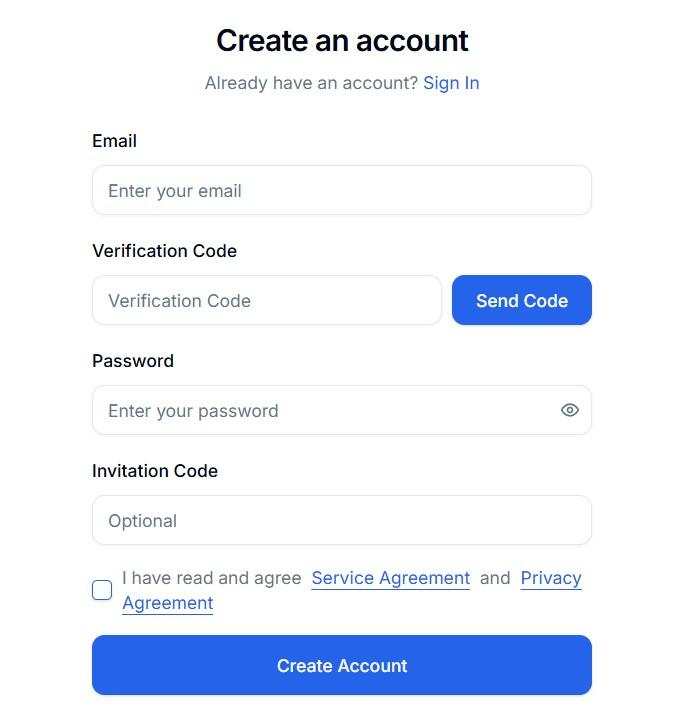
Simply make a new account , follow the steps and finally click “Let’s Get Started” which will take you to your free proxy list.

For users who know the specific proxies their workloads require, and/or want better performance and reliability across multiple targets, considering a paid plan is the recommended option. Those who will be working with the free plan - you can skip to Step 2.
For the rest, follow the steps below to acquire your first premium Webshare proxy plan.
After you create your account (Step 1.1), you will be presented with your account dashboard. The Proxy List is your initial screen with your currently owned proxies.
Navigate to Subscription >> Browse Plans.
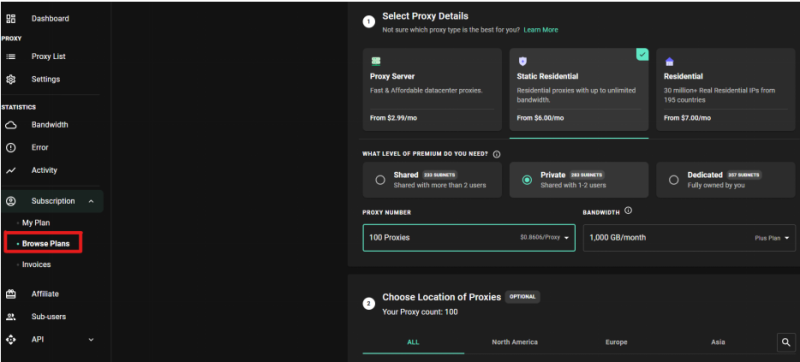
In the Browse Plans screen, you will be prompted with several options to configure your proxy setup. You’ll need to choose the following options:
●Your desired plan type (Proxy Server, Static Residential, or Residential)
●Proxy privacy level (Shared, Private, or Dedicated)
●Amount of IPs & bandwidth
●Desired locations of proxies
Important note: DuoPlus only supports the SOCKS5 protocol. Ensure the proxy plan you’re purchasing supports this protocol.
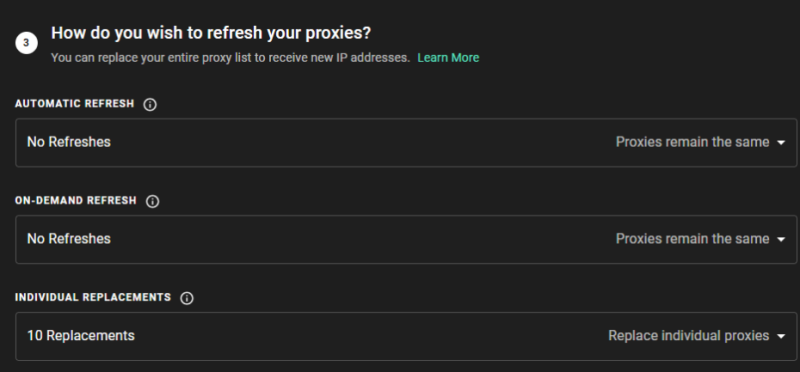
The rest of the options below the ones mentioned are optional. You can set up your proxy refresh configuration and also purchase additional addons depending on your needs and criteria for performance.
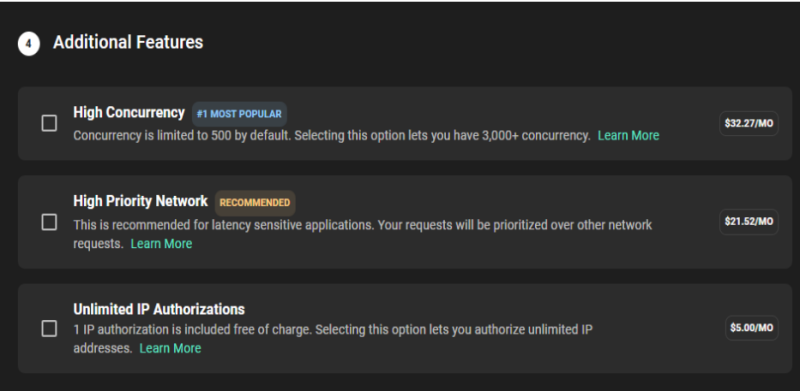
When done setting up here - click Continue on the right side of the screen to begin the checkout process.
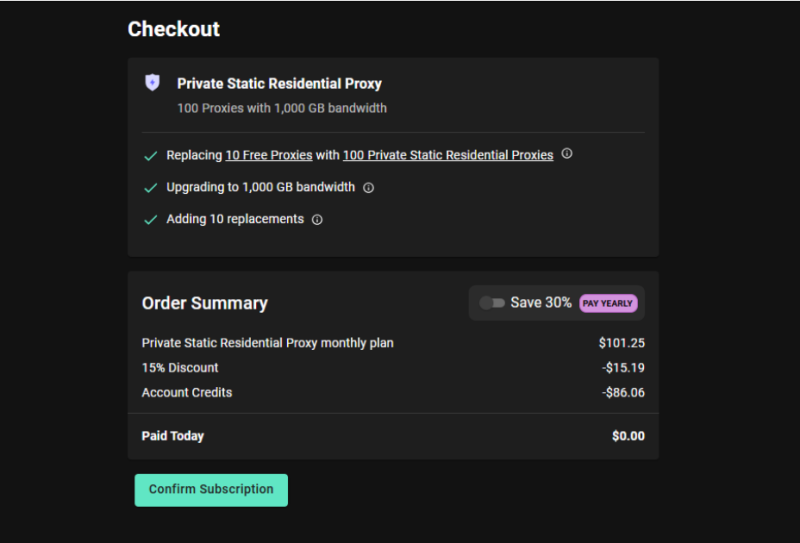
Lastly, you’ll be presented with the checkout screen where you can review the final price. Click Confirm Subscription to finish your purchase.
You’ve got the proxies - now let’s integrate them with DuoPlus. The process is quite simple and quick, so you should be done within a few minutes.
Whether you purchased a paid plan or using the 10 free proxies, you’ll need to get back to your Proxy List screen and get the proxy details to use with DuoPlus.
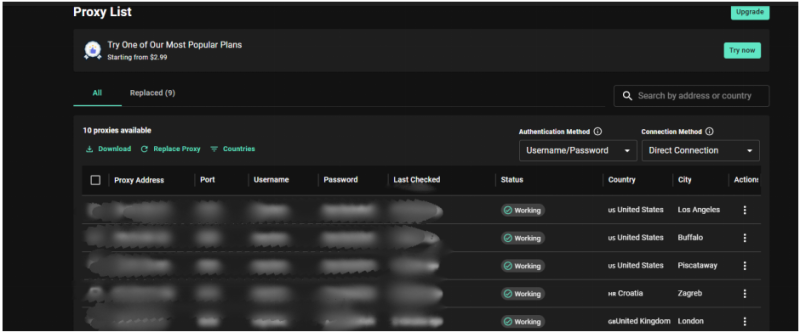
The key details you need to copy from your desired proxy are the following:
● Proxy Address ● Port ● Username ● Password
If you’ll be using a batch of proxies instead of a single proxy, simply click the Download button which will generate a text file with your entire proxy list in the following format:
ProxyAddress:Port:Username:Password
If you haven’t already, create a new DuoPlus account and log in to access your dashboard.
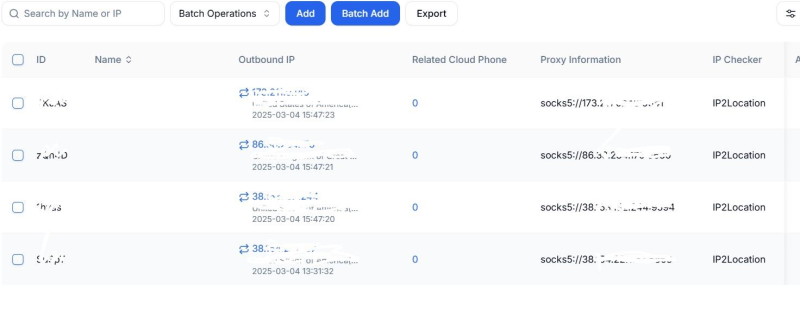
Once logged in, navigate to the Proxies section of your dashboard.
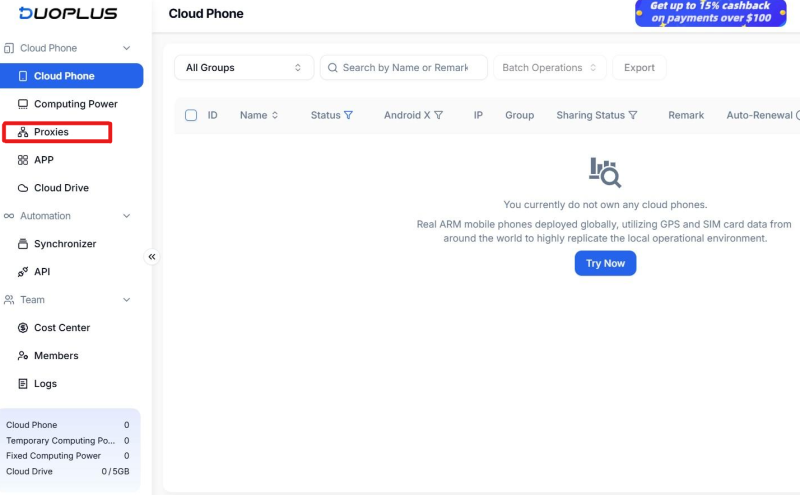
If you’d like to add a single proxy - simply click Add. If you’re adding an entire proxy list, click Batch Add.

All you need to do now is paste the proxy details you copied from your Webshare’s proxy list.
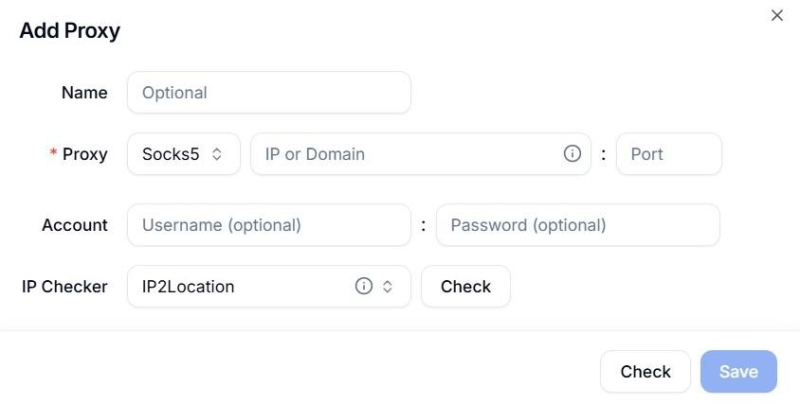
Paste the copied details according to the required fields in DuoPlus:
●Name - choose any (optional)
●Proxy - Socks5
●IP or Domain - Proxy Address from Webshare
●Port - Port from Webshare
●Username - Username from Webshare
●Password - Password from Webshare
Now click Check to test the proxy connection before using the configuration to ensure the operation will be smooth.
If the added proxies are working properly, your proxies will now be added to your DuoPlus account after clicking the Check button.
Congratulations! You have successfully integrated Webshare proxies with your DuoPlus account and can now manage multiple cloud accounts with added flexibility & extra security for each session.
Don’t forget to take advantage of Webshare’s free plan option to get 10 datacenter proxies & 1GB of monthly bandwidth to use for as long as you want, no credit card required!
DuoPlus Cloud Phone
Protect your multiple accounts from being
TikTok has become one of the most important growth channels for creators, affiliate marketers, and performance-driven …

Imagine finding a valuable YouTube tutorial—only to lose it when you need it most. Or trying to watch videos offline …
No need to purchase multiple real phones.
With DuoPlus, one person can operate numerous cloud phones and social media accounts from a single computer, driving traffic and boosting sales for you.
